Configuring SMTP for Emails on Client Websites
Purpose: This SOP outlines the steps for configuring DNS records in Hammett Enterprises' Cloudflare account. The goal is to set up a subdomain under the development domain, hammettenterprises.dev, for the client's website. This configuration is essential for enabling SSL certificate installation after the WordPress site is set up and running.
Scope: This applies to anyone who is setting up a development site on our development server.
Prerequisites:
Instructions
Last Updated: March 16, 2025
Step 1
Navigate to Cloudflare.com
Step 2
Click on the link “Log in”

Step 3
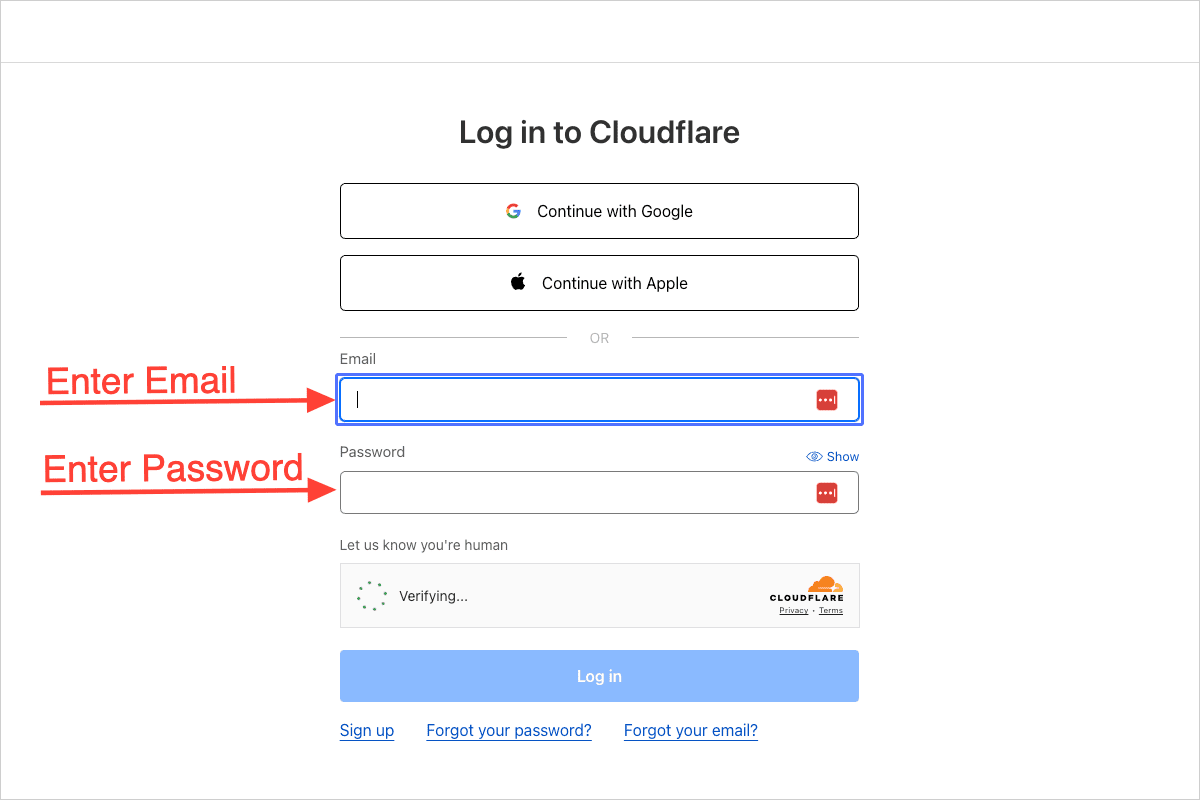
Enter the login credentials
If LastPass is active, it may automatically populate the fields depending on the browser. Simply click the form input, and a LastPass dialog will appear with the Cloudflare login credentials, allowing you to autofill the email address and password.
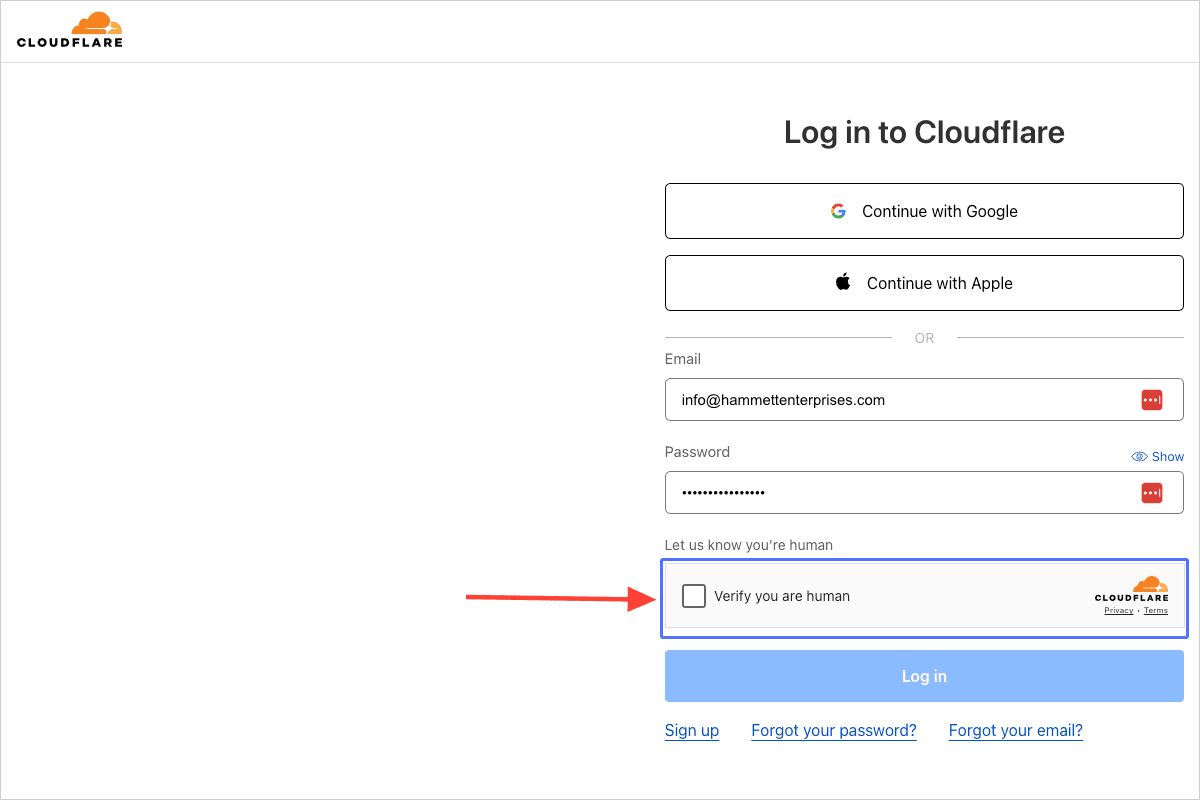
Step 4
Click the checkbox to verify you are human
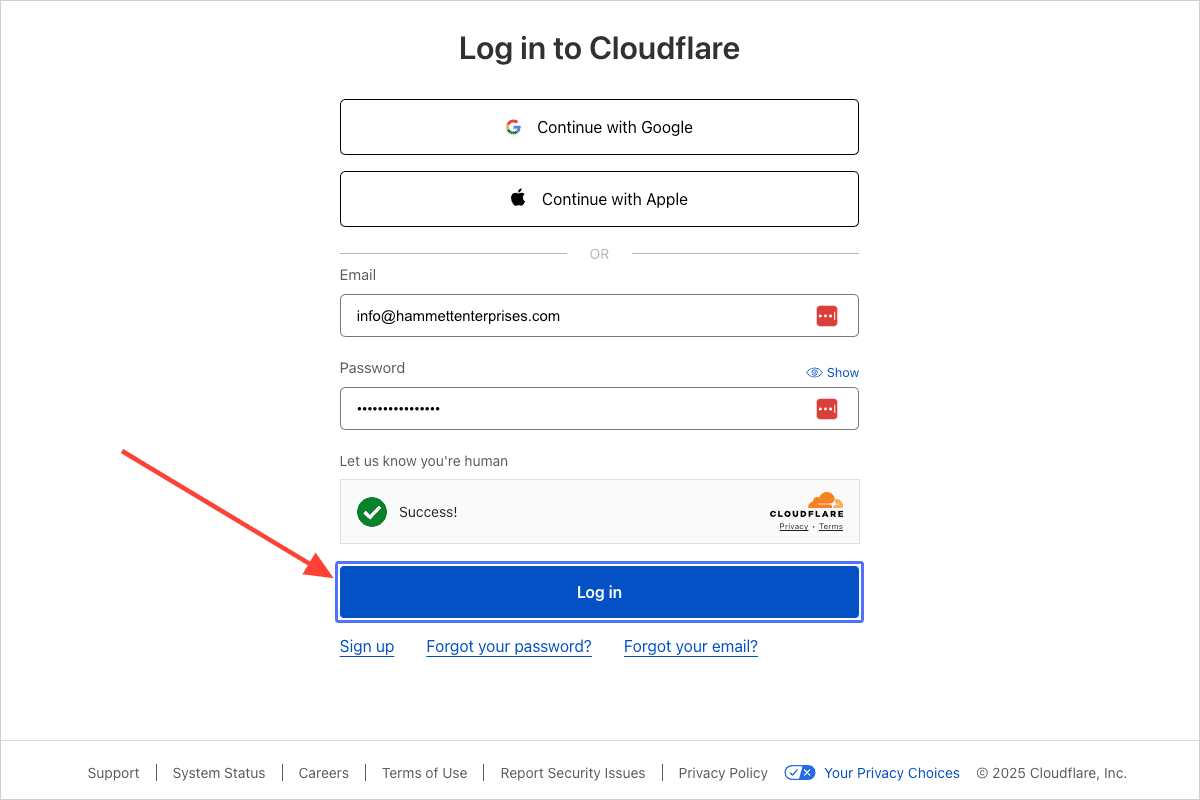
Step 5
Click on the button “Log in”
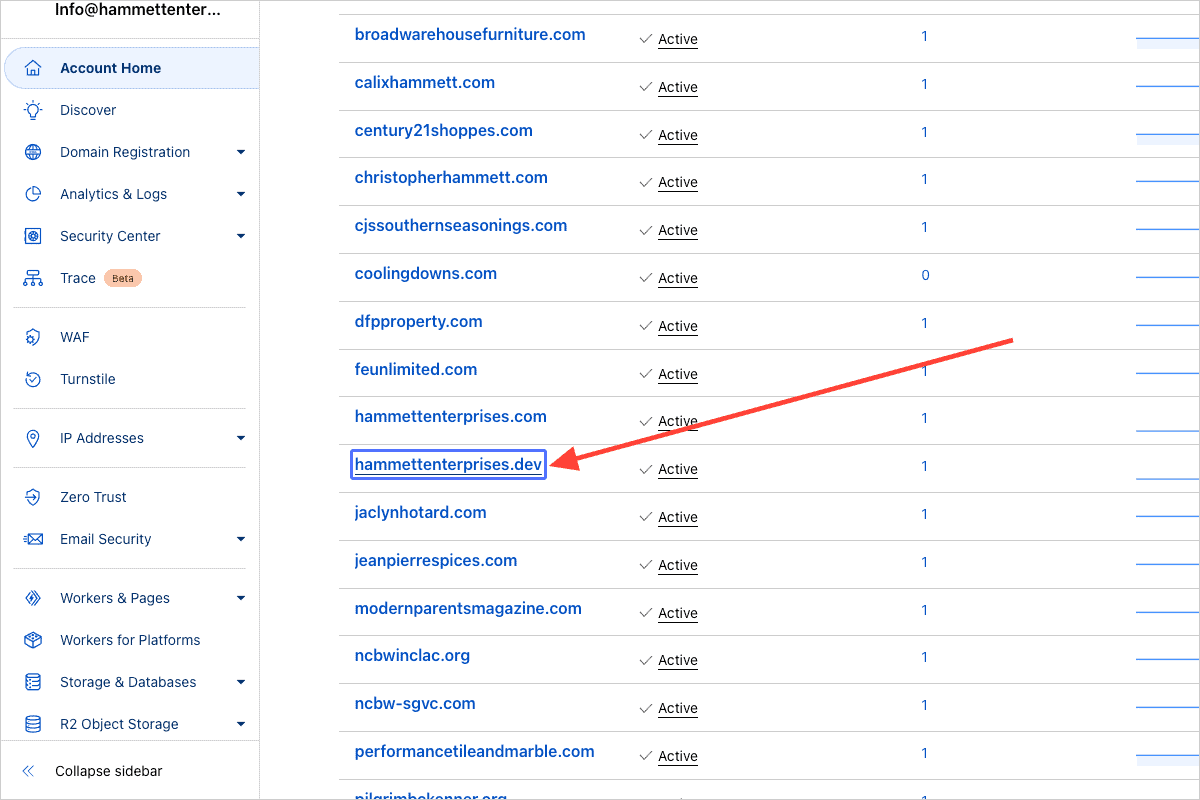
Step 6
Click on the link “hammettenterprises.dev”
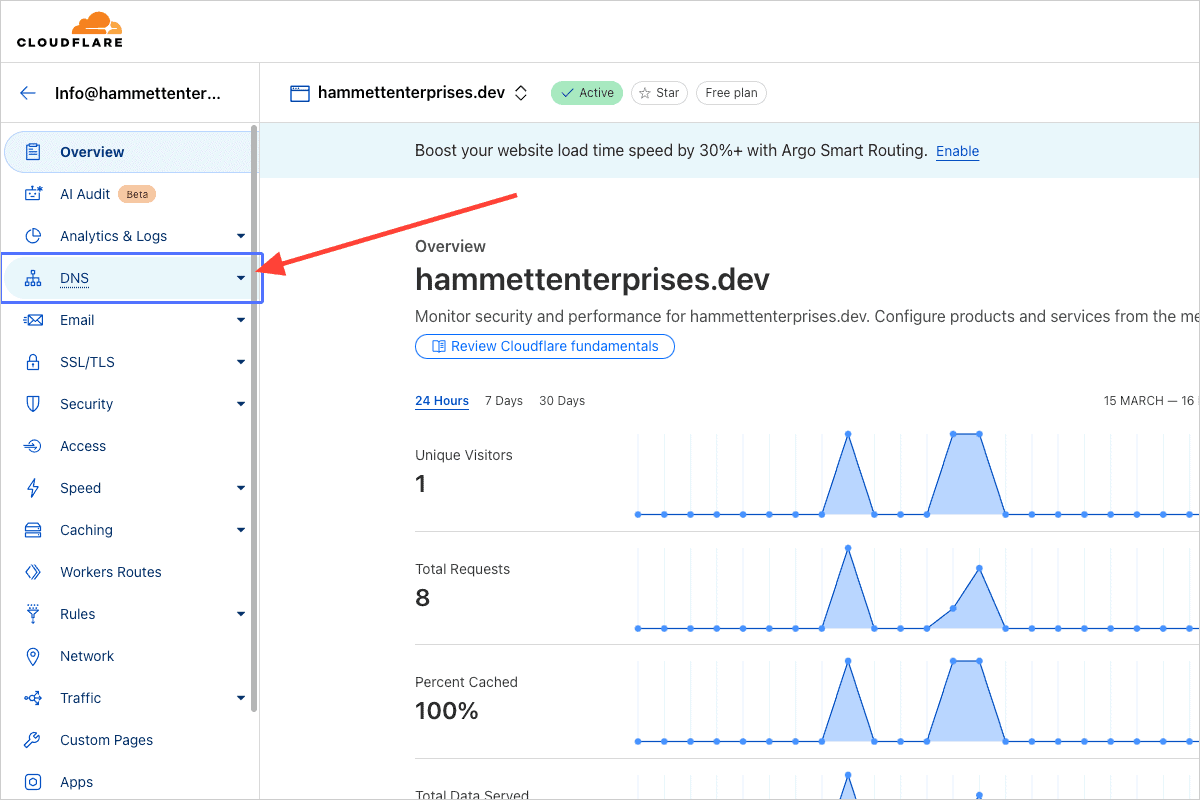
Step 7
Click on the link “DNS”
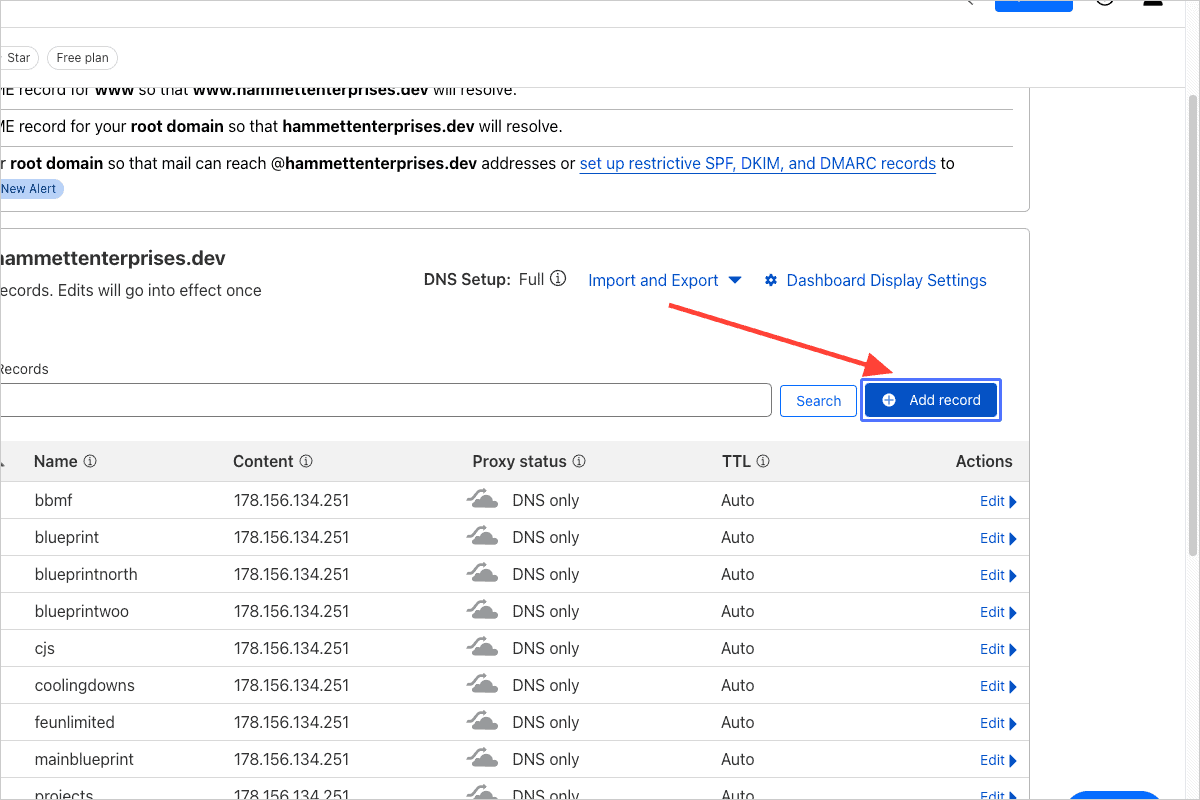
Step 8
Click on the button “Add record”
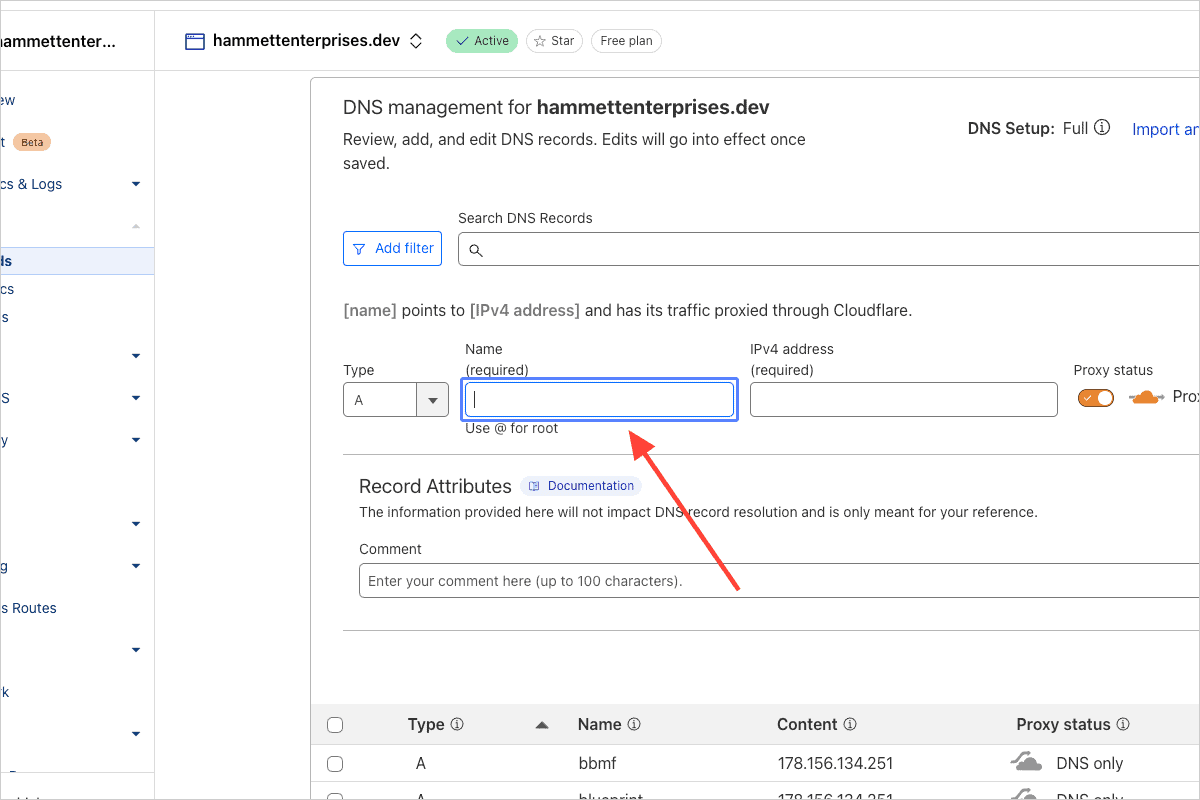
Step 9
Click on the input "Name (required)"
Enter name of client website; i.e. websitename where the full domain name would be websitename.com.
Step 10
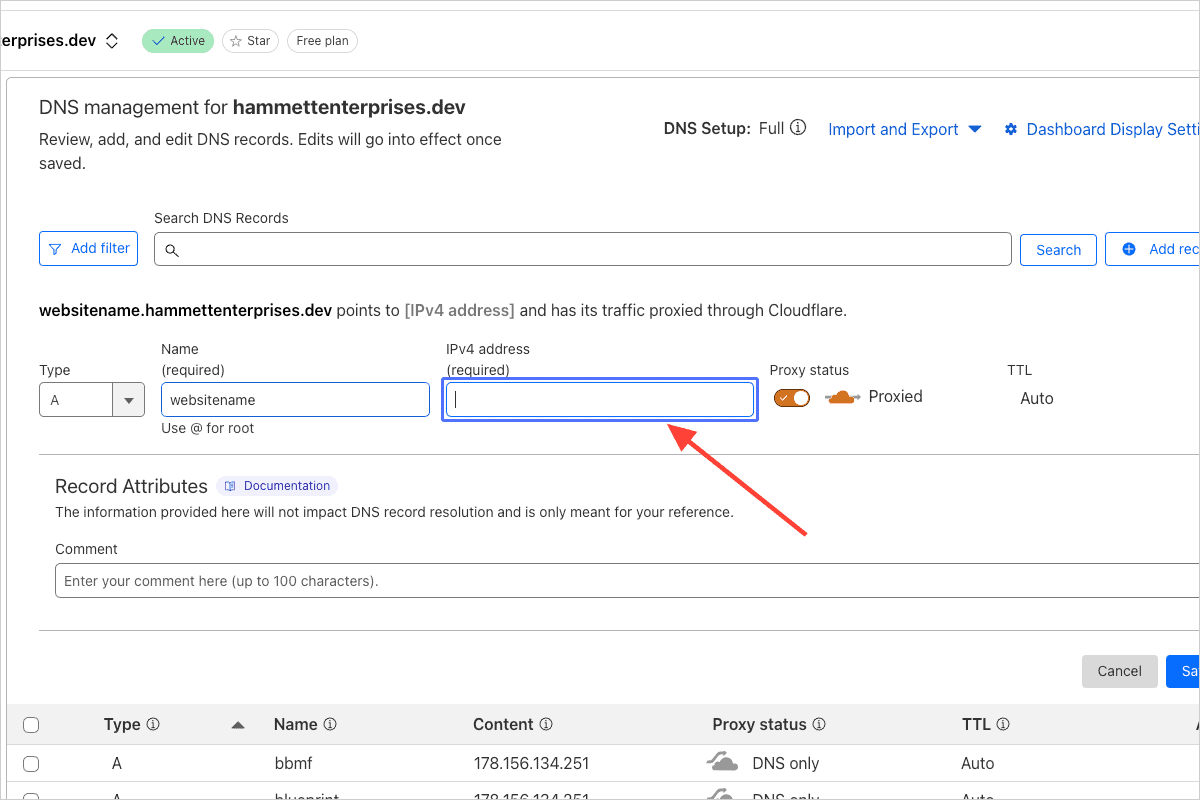
Click on the input “IPv4 address (required)”
Enter the IP address of the development server, which can be found in RunCloud. As of March 16, 2025, there is only one development server with the IP address 178.156.134.251.
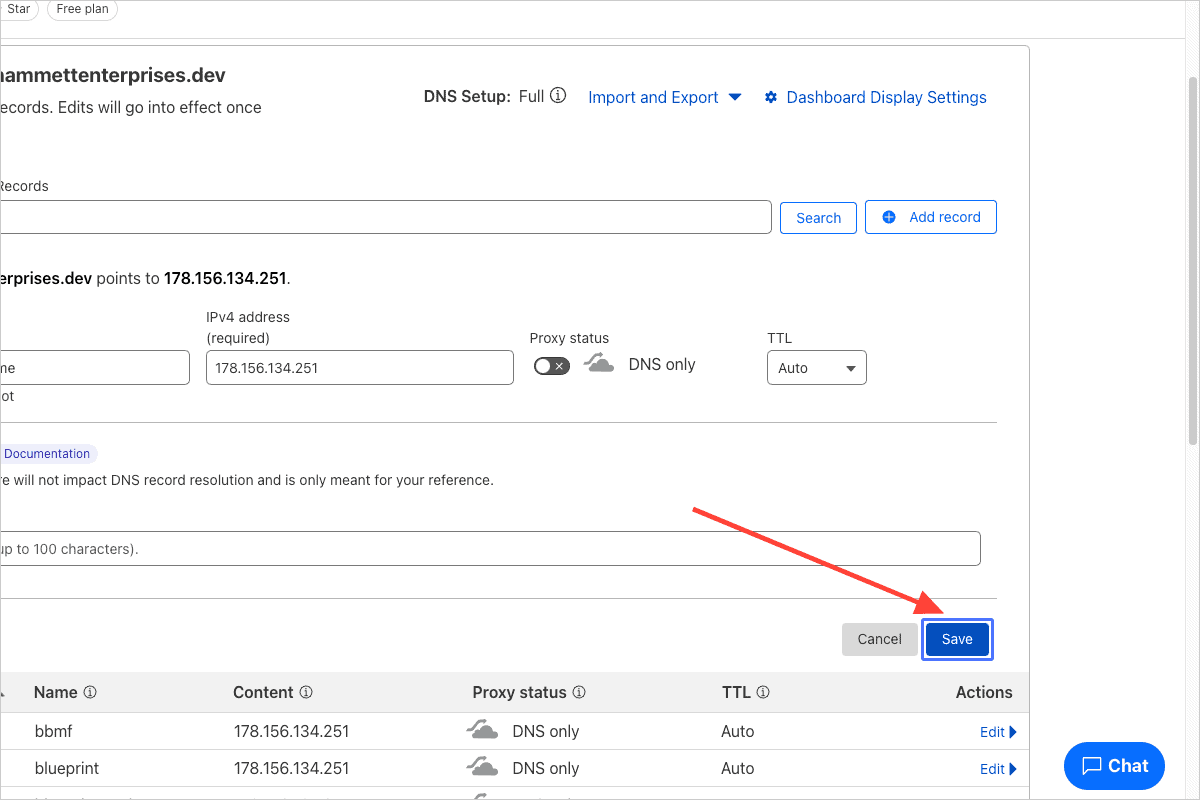
Step 11
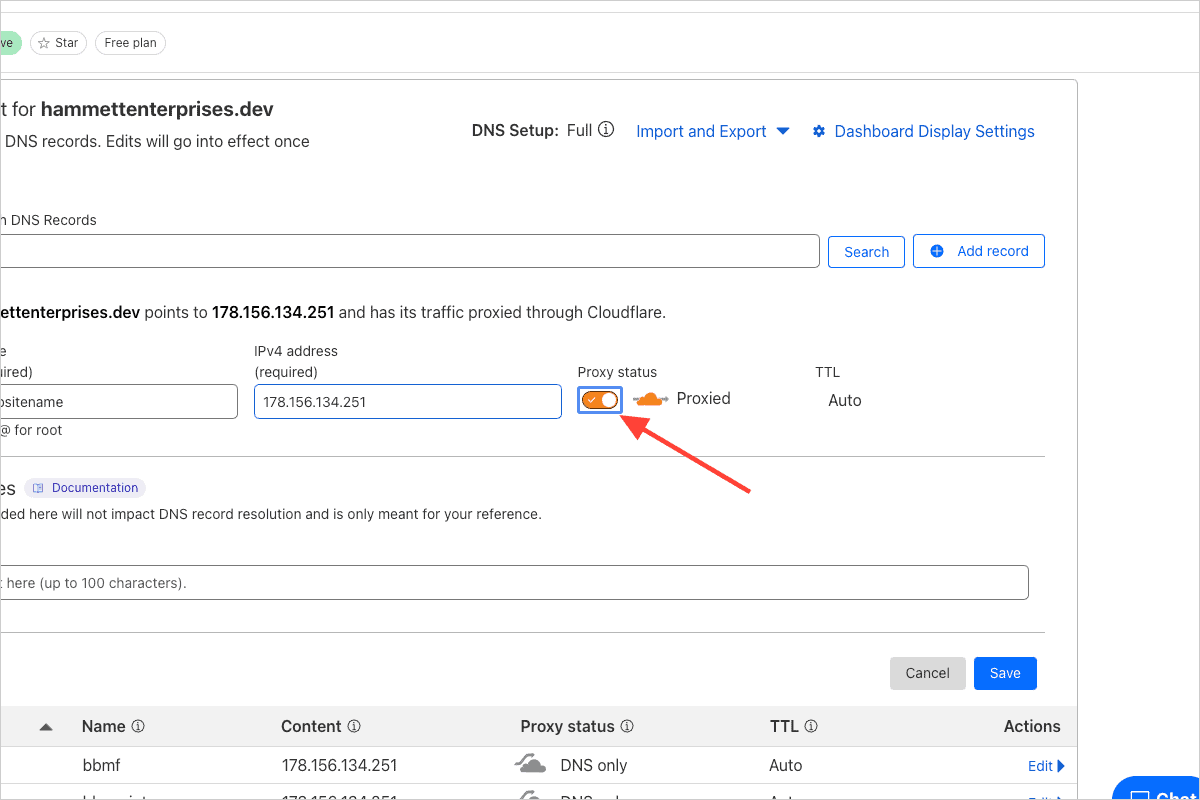
Click on the toggle switch “Proxy status” to deactivate it
The toggle switch and cloud should turn grey and the text "Proxied" should read "DNS Only" when deactivated.
Step 12
Click on the button “Save”